How to Print Letter Size (8.5″x11″) Printables Back to Back
Wondering how to print letter size inserts back to back? This step by step guide helps you print at home on automatic duplex or manual printer.
Printing back to back planner printables can be quite confusing, but if you follow these simple steps on any paper size, you will be able to print correctly the first time.
NOTE: If you need to print half size (5.5″x8.5″) printables back to back, follow the instructions here
There are two options:
Depending on the type of printer you have, you should be able to print your planner inserts automatically or manually.
If your printer supports automatic duplex mode, you don’t have to do much. If your printer does NOT support automatic duplex mode, meaning it does not print back to back, you will have to follow a few steps.
I’ve outlined the steps for printing on automatic duplex printer as well as manual printer.
This post contains affiliate links and we will earn commission if you buy the products through those links. For more information, please read our disclosures here
How to Print Letter Size or A4 Size Planner Inserts on Automatic Duplex Printer?
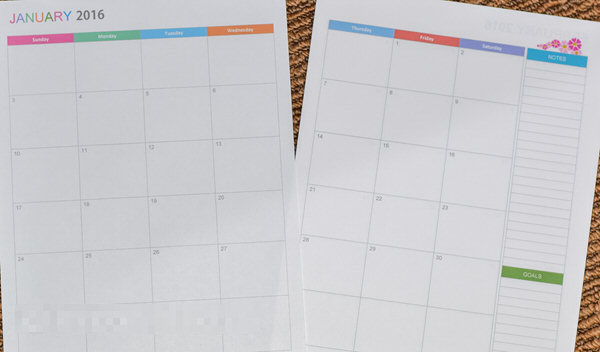
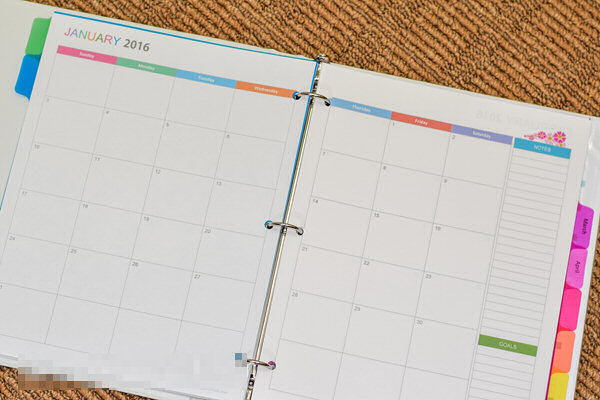
For this tutorial, I printed my letter size (8.5″x11″) Monthly Planner, that has among other things, two page monthly calendar, that has first half of month on one page and other half month on other page.
Note: These instructions are for Windows Operating System with HP LaserJet Pro M201 DW Printer(*).
Step #1: Download your letter size or A4 size planner printable.
Step #2: Open the Monthly Calendar PDF file using Adobe Reader. Download it here for free if you don’t have one.
Step #3: Click on “File”, then click on “Print”.
Printer Dialog Box will pop up. Something like this one:
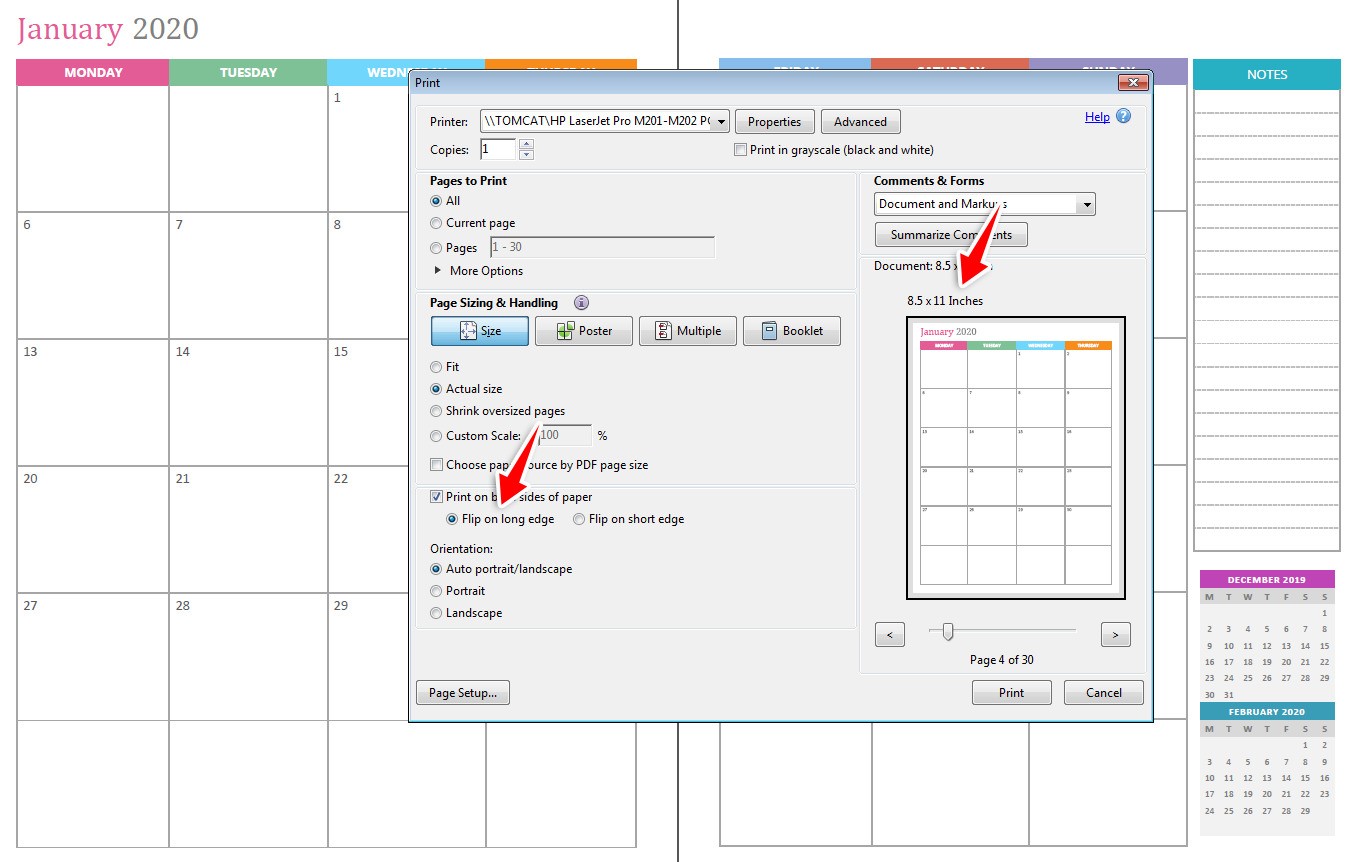
In that printer dialog box:
- Select the Number of Pages to Print
- Select Actual Size
- Check mark “Print on Both Side”
- Select “Flip on Long Edge”
Also, note the size of the paper selected is letter size (8.5×11 inch).
In order to change the size of paper, click on “Page Setup” button at the bottom left.
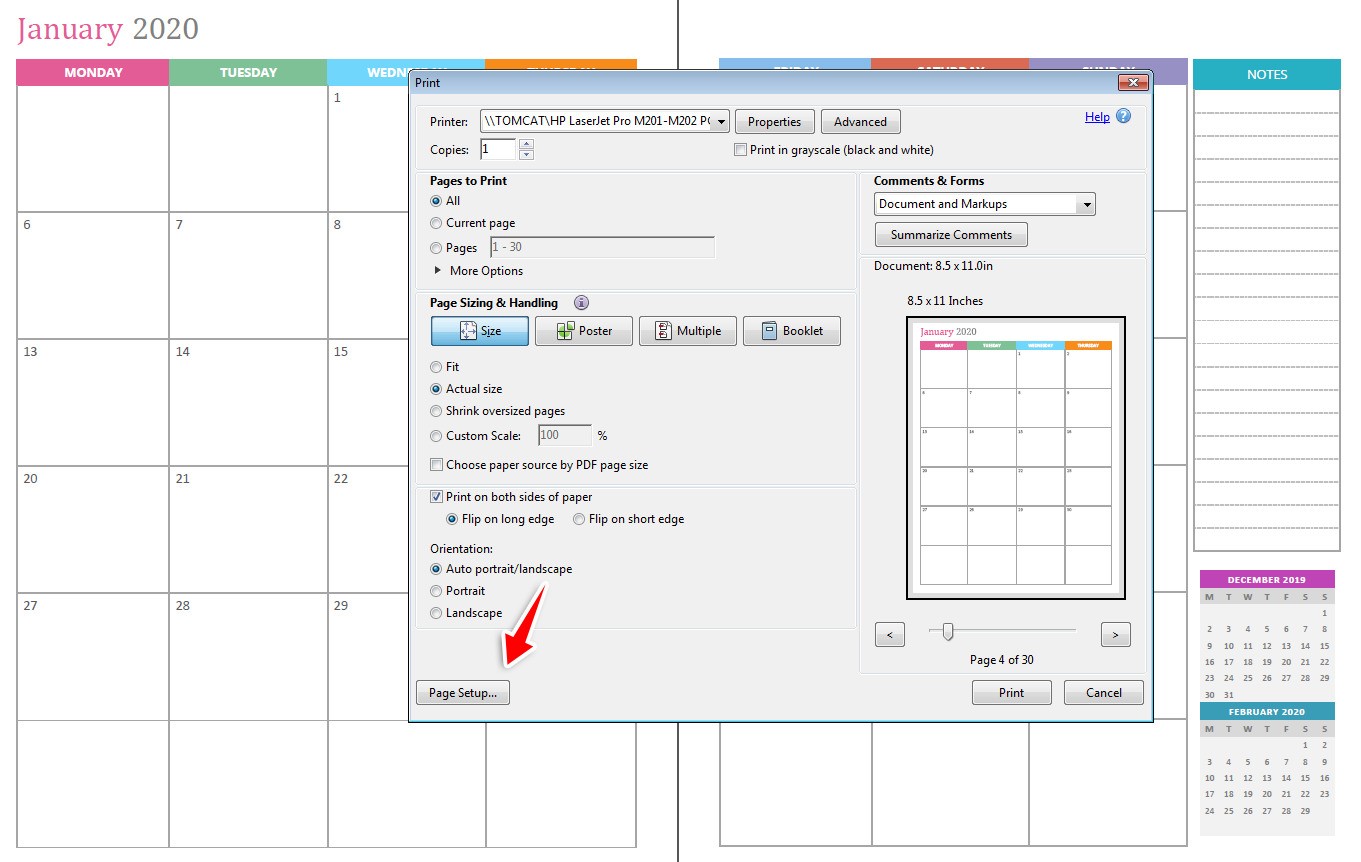
In the next pop up, switch to the size you wish to print on. In this case, it will be A4.
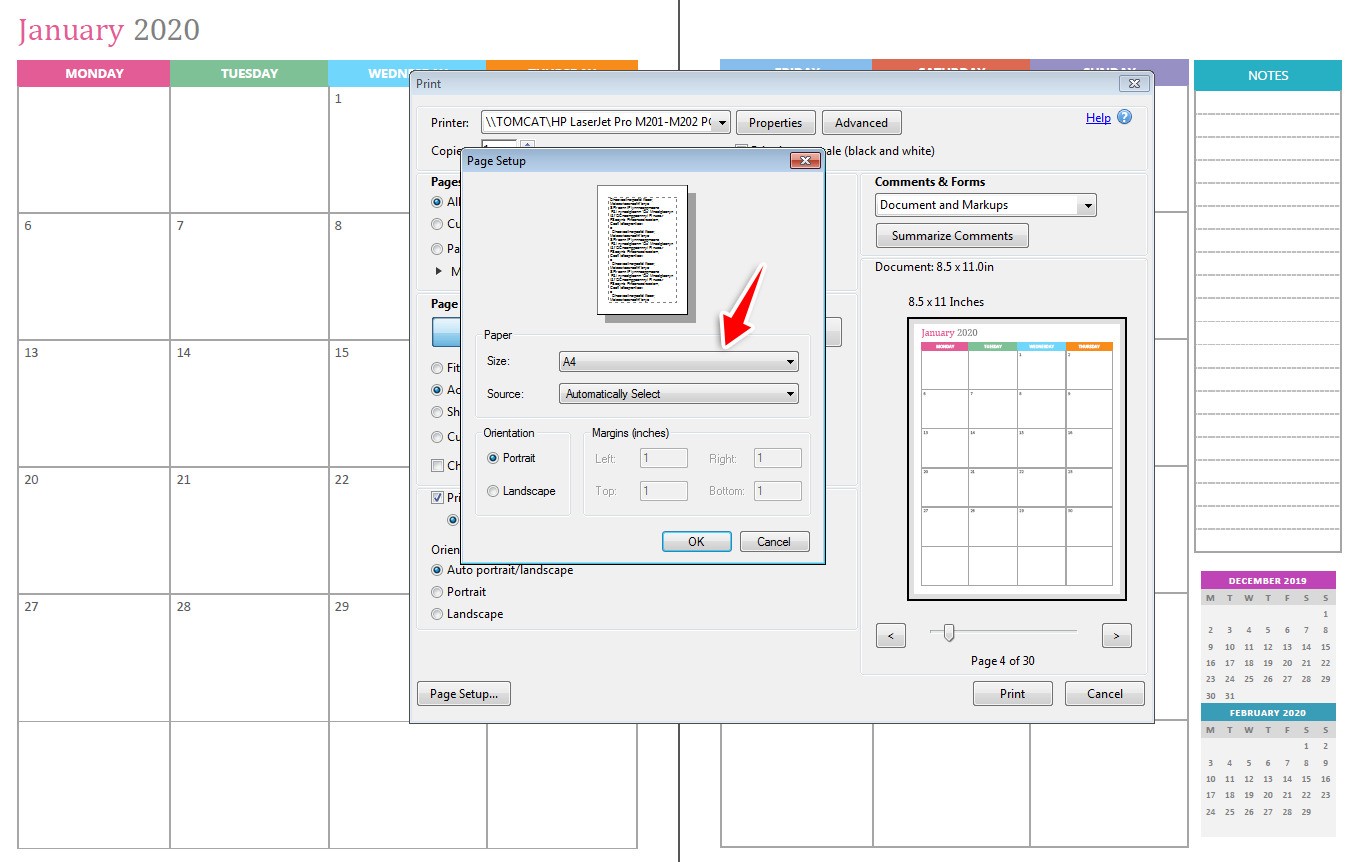
Once you have followed these steps, click on “Print” button. And that’s it!
How to Print Letter Size or A4 Size Planner Inserts on Manual Printer?
If your printer does not support back to back printing, you have to do a few more extra steps in order to print back to back.
To print back to back on manual printer, you need to make a setting in Acrobat Reader, print all the odd numbered pages first.
Make another setting in Acrobat Reader, flip the set of papers and print all the even numbered papers!
Because it can get confusing when you start printing following this order, here are few simple steps to follow.
Note: These instructions are for Windows Operating System with HP OfficeJet Pro 8610 printer.
Step #1: Download your letter size 8.5″x11″ planner printable.
Step #2: Turn your printer on and open the tray. Feed the paper and make sure to adjust the guides so that the paper is tightly snug in the printer.
Step #3: Set the paper in the printer and close the tray.
Step #4: Using Acrobat Reader, open the Monthly Calendar PDF file. Click on print icon.
Step #5: In the dialog box that appears, select your printer and check to see if letter size 8.5×11 inch is selected. If it is, then skip the step #6 and Step #7, otherwise click on Page Setup at the left bottom corner.
Step #6: In the Page Setup dialog box, select size to be Letter Size 8.5×11 from the drop down menu.
Step #7: Click OK. You will be back to “Print” dialog box. There you will see the size to be selected as 8.5×11 inch.
Step #8: In the “Print” dialog box, click on More Options. For Odd or Even Pages, select Odd pages only.
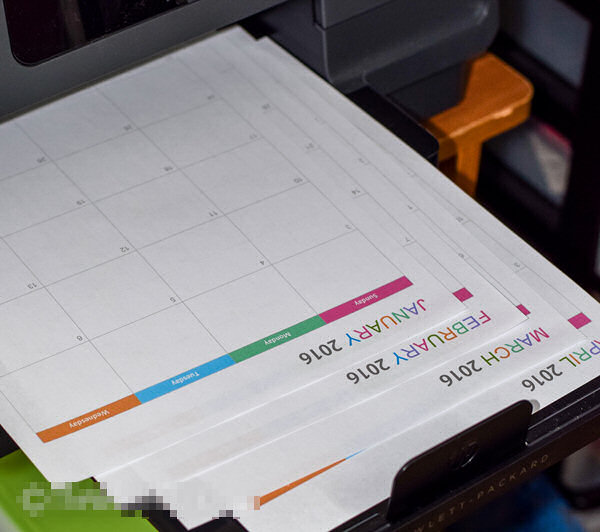
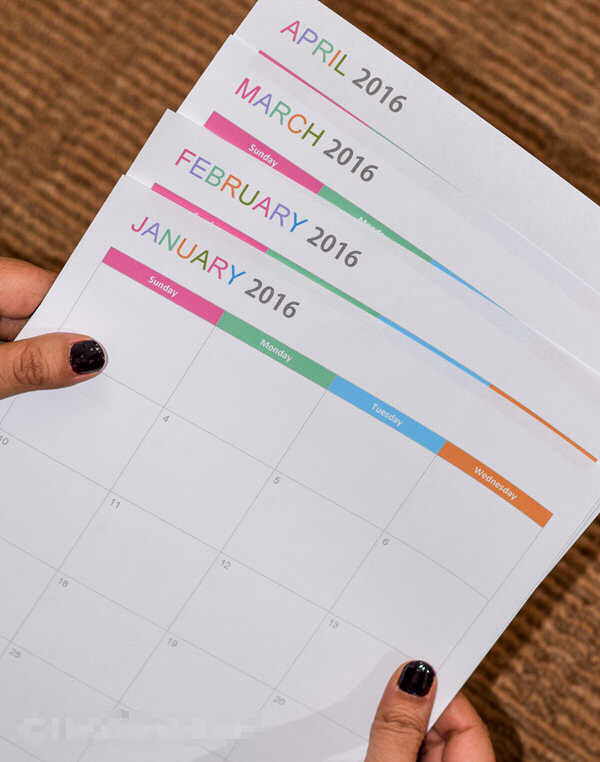
Step #9: Click “Print”. Since you selected odd pages to be printed, you will see the odd pages being printed out. In this case, January, February, March, April etc. will be printed on one side of each page.
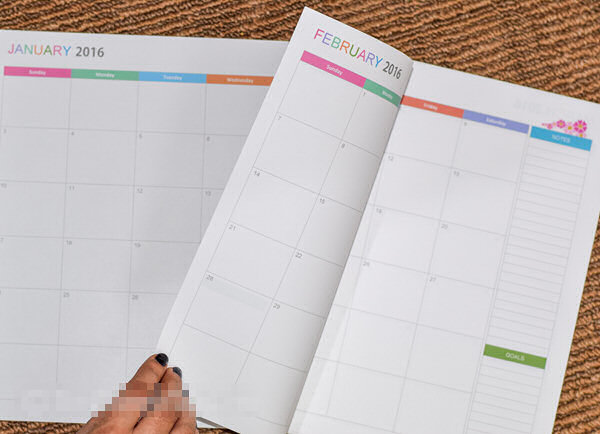
Step #10: To print on the second half month of January, you need to make sure that it is printed on the back of the first half week of February.
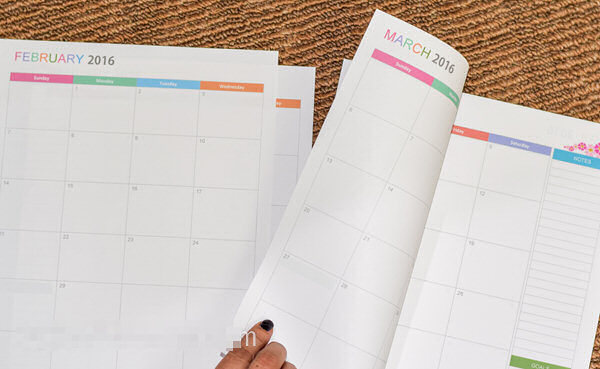
Similarly second half month of February should be printed on the back of first half month of March and so on.
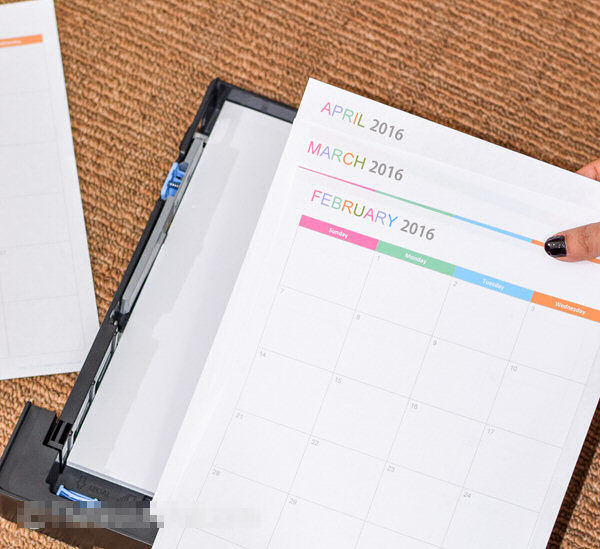
So, skip the first half month of January and arrange rest of the months like this. On top should be February, March underneath it and so on.
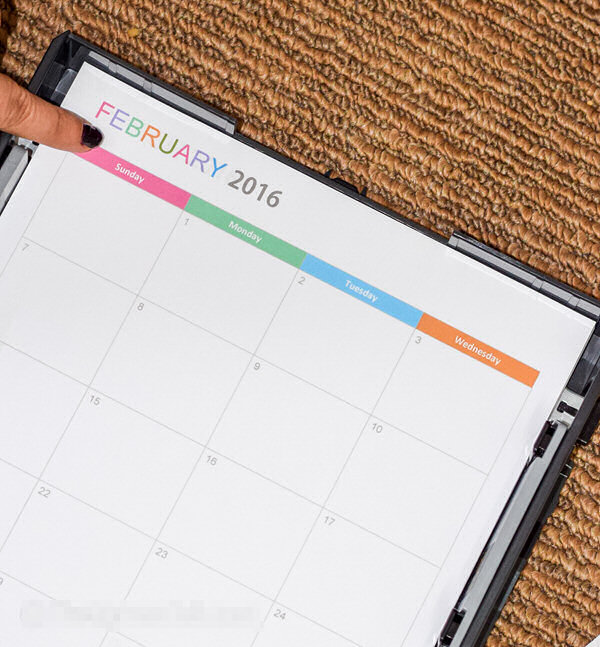
Step #11: Feed them in the printer in the same sequence. Close the tray
Step #12: Now you need to print the even numbered pages. Open your print dialog if it is not already open by clicking on Print icon.
To print on the back side of these pages, this time you need to select even numbers. You also need to select “Reverse” option.
This is the most important as well as convenient setting I found when printing the pages back to back.
Because I did not have to do anything tricky to make sure I was printing them right. I just took the printed pages on one side, and fed them to the printer in the same direction they were printed.
There are other confusing ways of printing back to back but I found this process very easy to follow instead of flipping the papers in confusing directions and flipping them number of times again and again 🙂
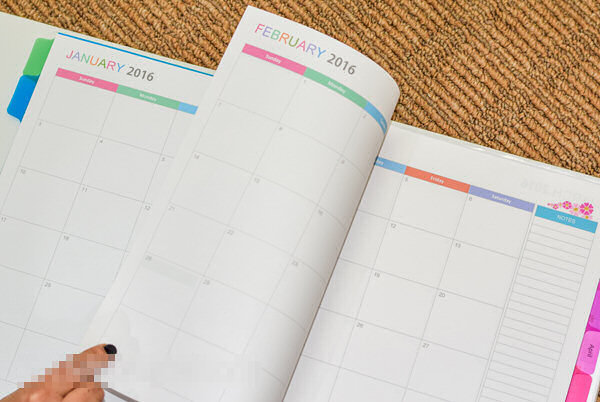
Step #13: Click “Print”. Because of the sequence you fed to the printer, you will get these printed on the back side of the already printed pages. You should see something like this ….
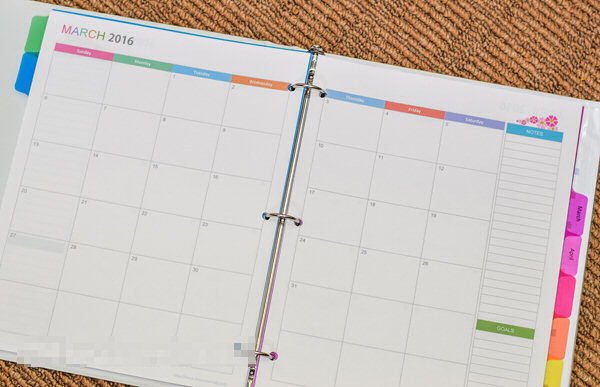
All the pages are printed perfectly from back to back.
This is what my monthly planner in my binder looks like!
Printing back to back planner printables on manual printer can be quite confusing, but if you follow these simple steps on any paper size, you will be able to print correctly the first time.
I know how many papers I have wasted while trying to get it right, I don’t want you to go through those confusing steps so here are my instructions for you.
I’d appreciate if you could give me the feedback on how clear these steps are to follow. I’d love to keep it as simple to print back to back as possible..


