How to Print Half Size (5.5″x8.5″) Planner Printables Back to Back
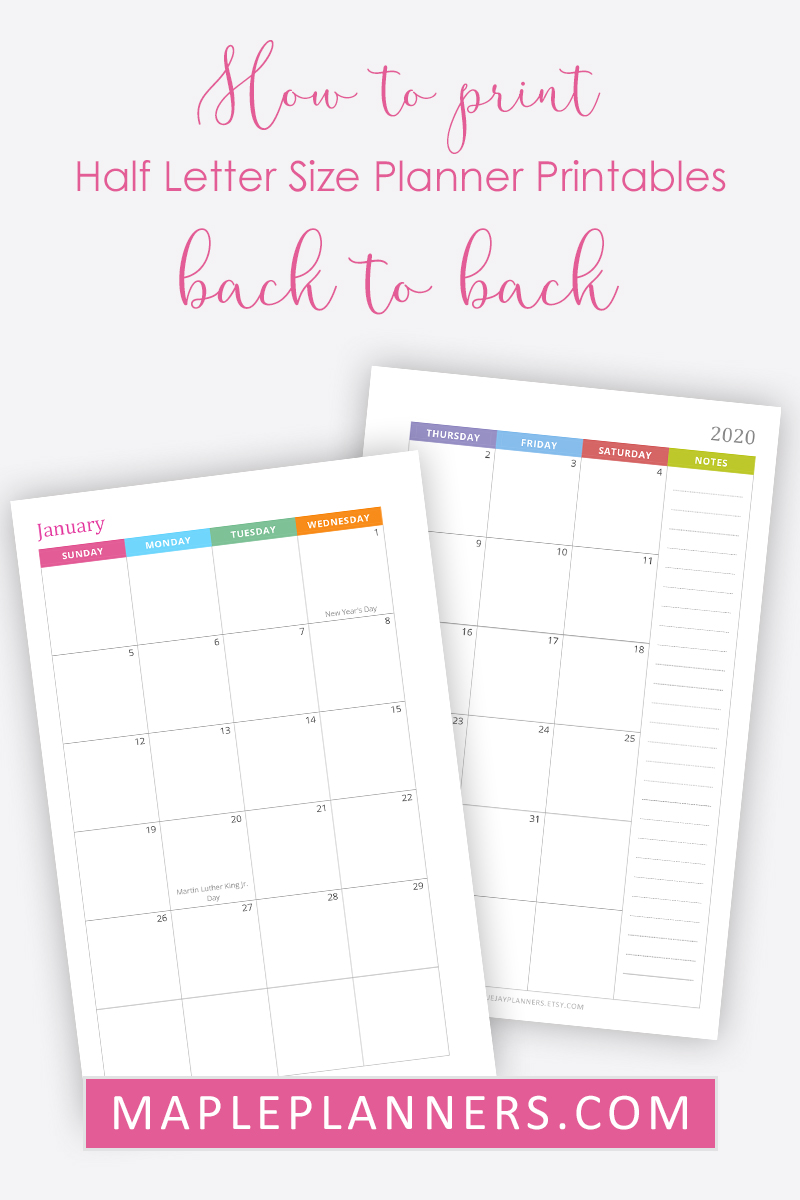
Wondering how to print half letter size planner printable inserts back to back? Here are step by step instructions on how to print these inserts at home.
If you are a planner person, you love to organize and stay on top of things. Although, there are many digital schedulers available in the form of apps and online, but writing things down is something that is a personal choice.
This post contains affiliate links and we will earn commission if you buy the products through those links. For more information, please read our disclosures here
Printable planners are a good reminders to check on your goals, year after year.
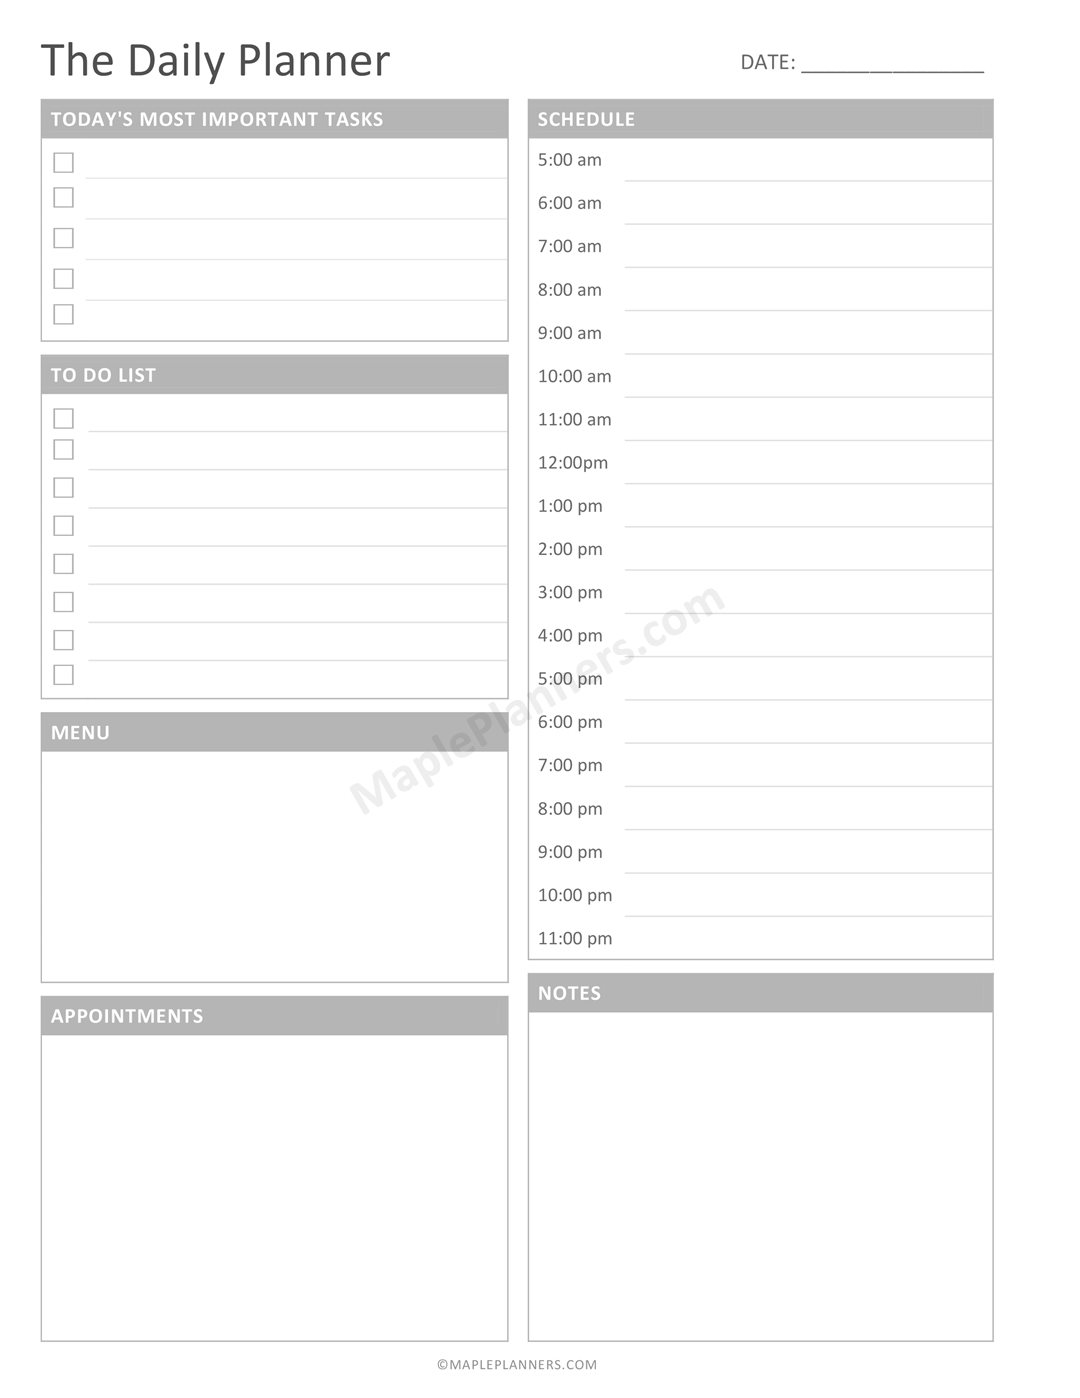
If you haven’t checked it out already, make sure to check out Daily Planner Printable.
Simplicity it offers to plan things all day long is what makes it so easy to use.
Download The Daily Planner for FREE
This zipped file comes with A4 Size, Letter Size, A5 and Half Letter Size.
Now, if you plan on printing letter size or A4 size, normally there are no issues while printing, but if you plan on printing half letter size or A5, you need to keep reading.
Because printing back to back for planners like Filofax can be a bit challenging sometimes, that is if you are trying to print on a printer that does not support back to back or duplex printing.
So, let’s see how to print half letter size printables back to back.
NOTE: If you need to print letter size (8.5″x11″) printables back to back, follow the instructions here
If you get your planners printed from local print shop, this post may not be for you.
But if you prefer to print the planner printables yourself at home, chances are you must have run into printing issues, at least while printing back to back.
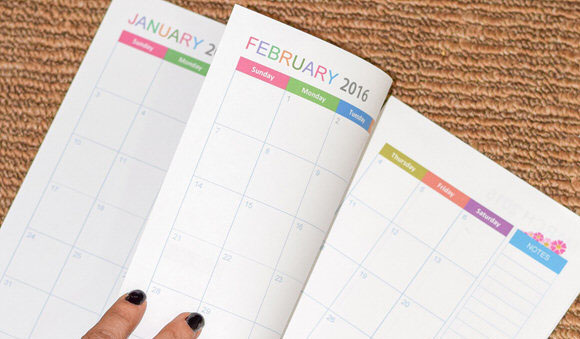
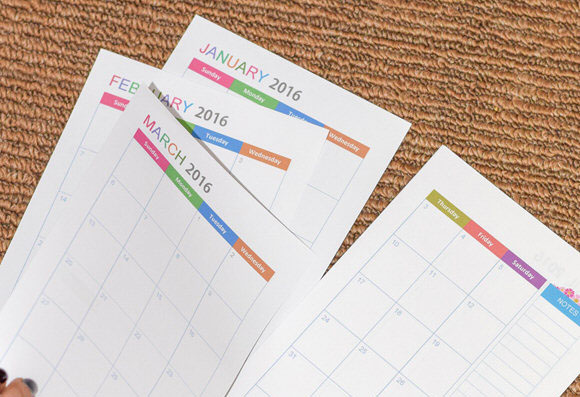
I love my half letter size weekly planner printables. Not only are they easy to carry around, they look so cute and colorful.
When I first tried to print my half letter size planner printable inserts, I ran into printing issues though.
I was looking to print back to back to organize my weekly planner. As much as I tried, I COULD NOT get it to print right.
First off, I was feeding the printer regular 8.5″x 11″ paper, and trying to print two on a sheet. BIG MISTAKE!
It would just print in the middle of the page, and looked so enh! I had to do lot of research in order to get them to print right.
After I was able to figure everything out, I was surprised at how simple and straight forward the whole process is.
If you are running into similar issues, I have set this simple tutorial to walk you through printing half size printables back to back!
Note: These instructions are for Windows Operating System with HP OfficeJet Pro 8610 printer.
Step #1: Follow this step if you do NOT have 5.5×8.5inch size paper in stock.
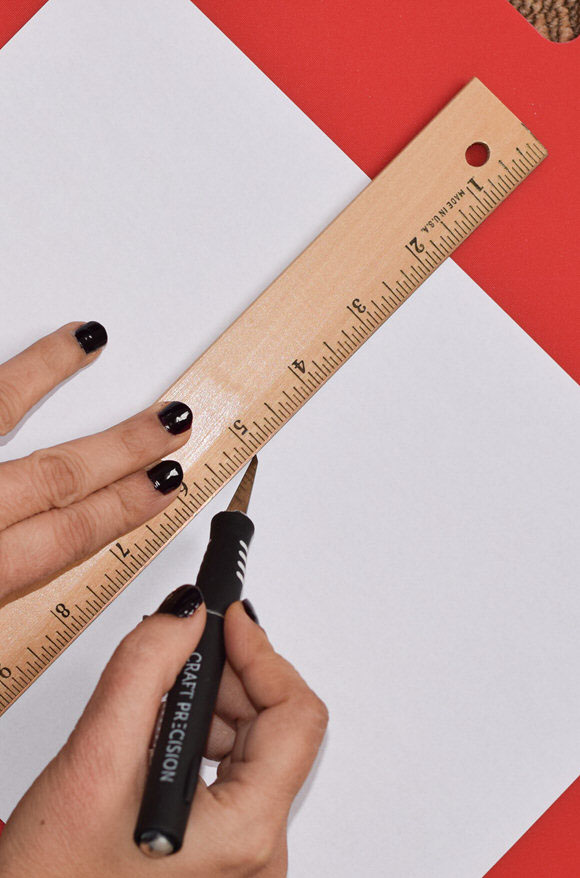
Using a craft knife or rotary cutter cut your paper into half, 5.5″x 8.5″ sheets. You can also get it done from your local Staples or Office Depot for a nominal fees.
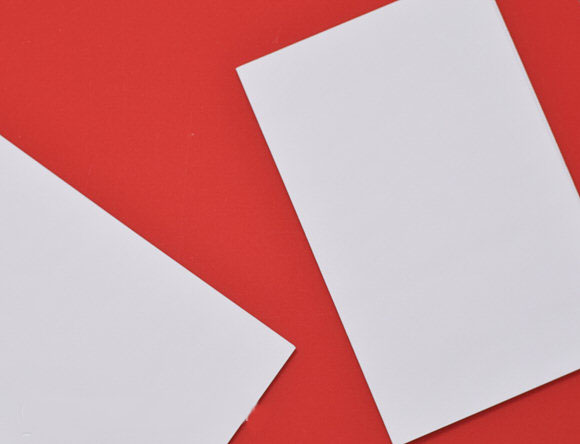
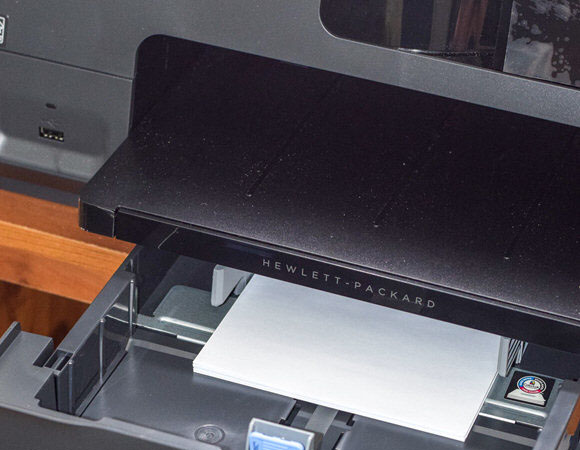
This is the size it should look like …..
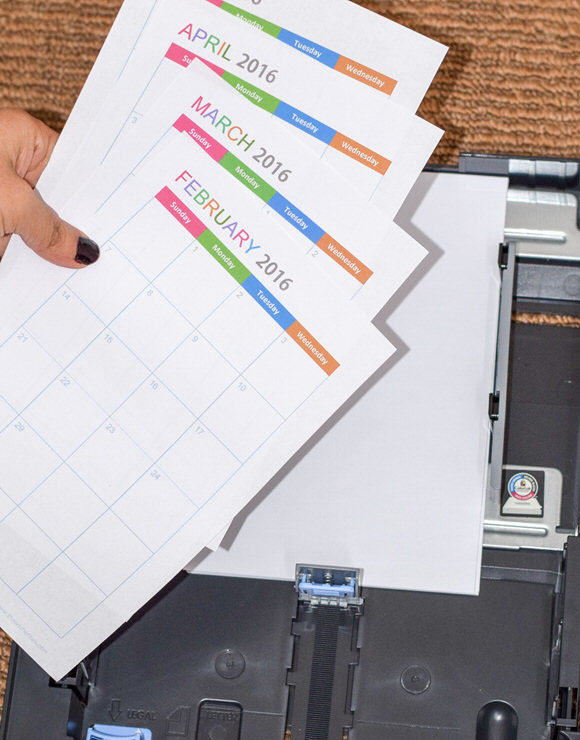
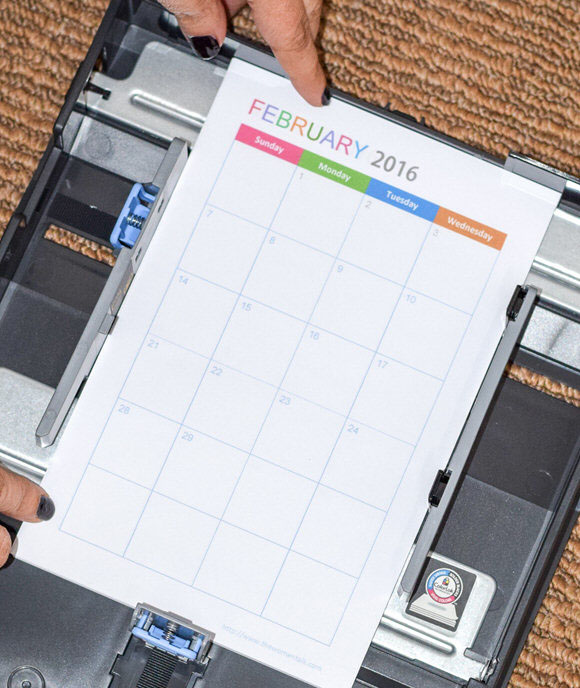
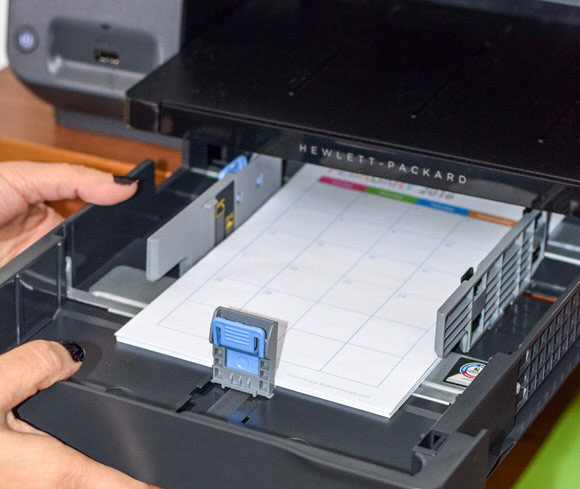
Step #2: Turn your printer on and open the tray. Feed the paper and make sure to adjust the guides so that the paper is tightly snug in the printer.
Step #3: Set the paper in the printer and close the tray.
Step #4: Download your favorite printable planner. Save it on your computer in a folder. Open the PDF file in Adobe Reader.
Following instructions are for adding the half size paper in paper selection dialog of your printer. You can skip steps 5 – 7 if you already have that size available for printing
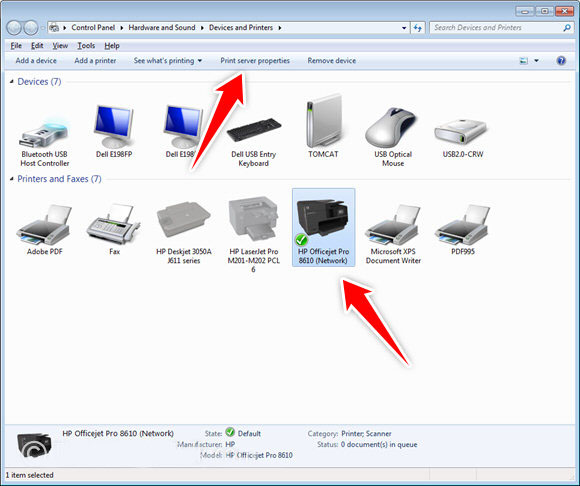
Step #5: Set up the printer to include this half size 5.5″ x 8.5″. From your explorer window, go to Control Panel > Hardware and Sound > Devices and Printers. Select your printer.
Step #6: Click on Print Server Properties. In the dialog box that appears, check to see if half size 5.5″x8.5″ is included or not.
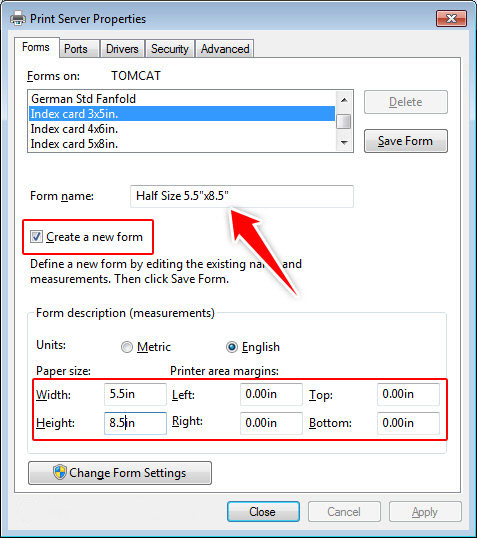
If it is there, then you do not need to proceed any further. If not, you need to create a new form. Checkoff the box where it says, Create a new form. Set the values as shown in the image below.
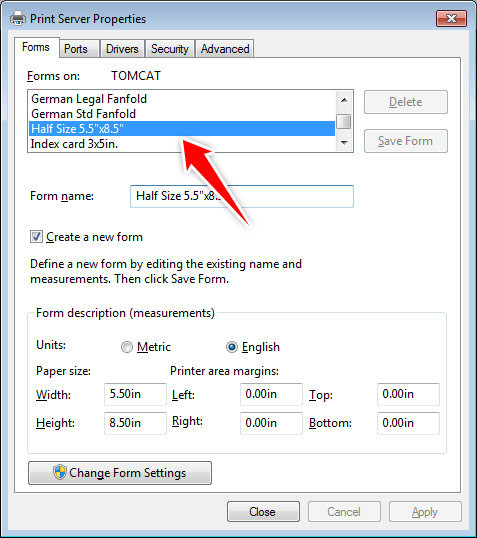
Step #7: When you click on Save Form, you will see these new settings added under the forms tab to the Print Server Properties, like this.
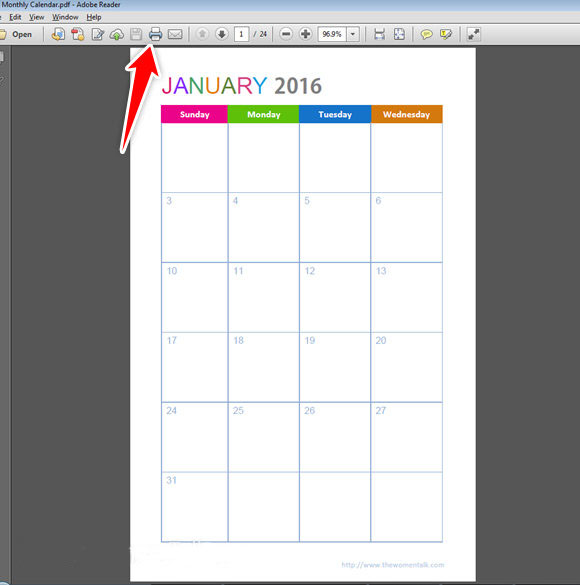
Step #8: Next, using Adobe Reader, open the file you want to print back to back. For this tutorial, I opened 2 page Monthly Calendar. Click on Print icon.
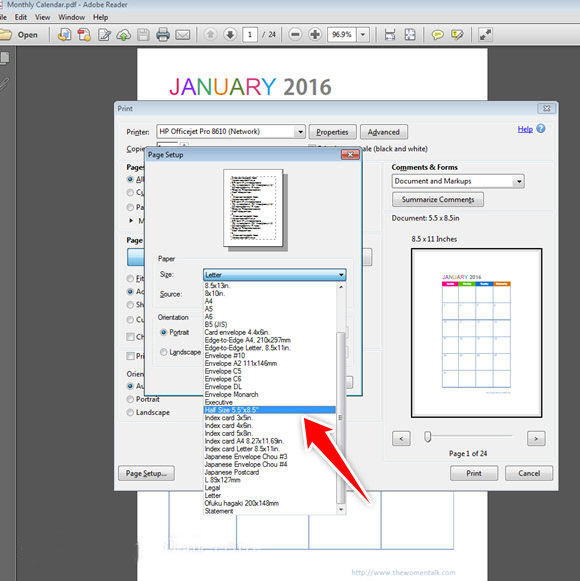
Step #9: In the next dialog box, select your printer and click on Page Setup.
Step #10: In the Page Setup dialog box, select size to be Half Size 5.5×8.5 from the drop down menu.
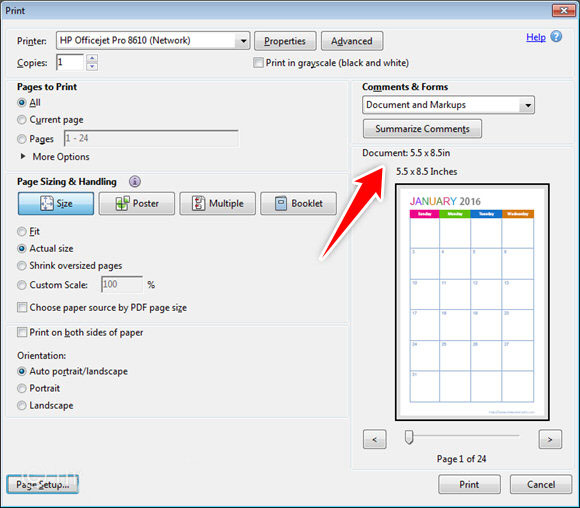
Step #11: Click Ok. You will be back to “Print” dialog box. There you will see the size to be selected as 5.5×8.5inch.
Step #12: These are some of the important steps when printing half size printable planners, so make sure you are making the right selections.
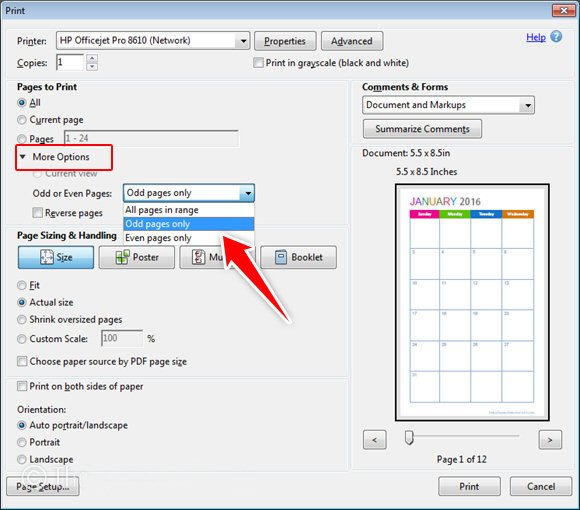
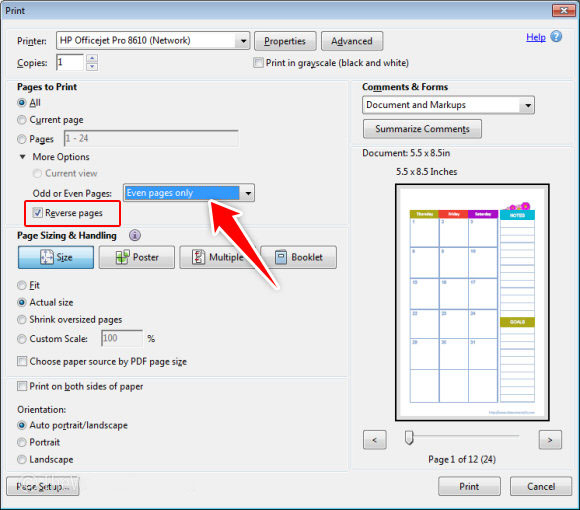
In the “Print” dialog box, click on More Options. For Odd or Even Pages, select Odd pages only.
Step #13: Click “Print”. Since you selected odd pages to be printed, you will see the odd pages being printed out. In this case, January, February, March, April etc will be printed on one side of each page.
Step #14: To print on the second half week of January, you need to make sure that it is printed on the back of the first half week of February.
Similarly second half week of February should be printed on the back of first half week of March and so on.
So, skip the first half week of January and arrange rest of the months like this. On top should be February, March underneath it and so on.
Step #15: Feed them in the printer in the same sequence.
Step #16: Close the tray
Step #17: Now you need to print the even numbered pages. Open your print dialog if it is not already open by clicking on Print icon.
To print on the back side of these pages, this time you need to select even numbers. You also need to select “Reverse” option.
This is the most important as well as convenient setting I found when printing the pages back to back.
Because I did not have to do anything tricky to make sure I was printing them right. I just took the printed pages on one side, and fed them to the printer in the same direction they were printed.
There are other confusing ways of printing back to back but I found this process very easy to follow instead of flipping the papers in confusing directions and flipping them number of times again and again 🙂
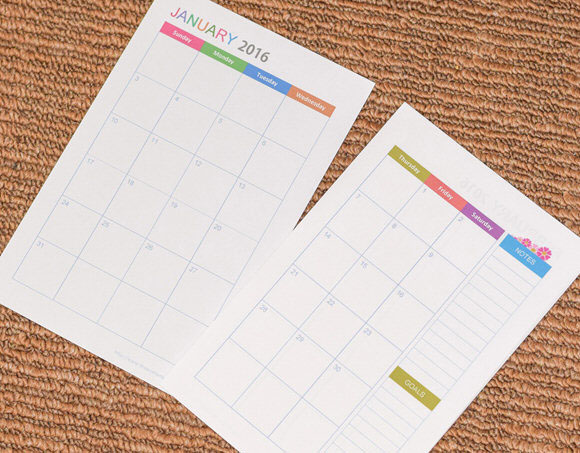
Step #18: Click “Print”. Because of the sequence you fed to the printer, you will get these printed on the back side of the already printed pages. You should see something like this ….
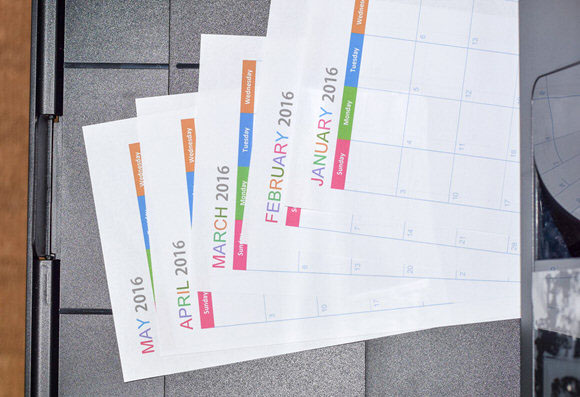
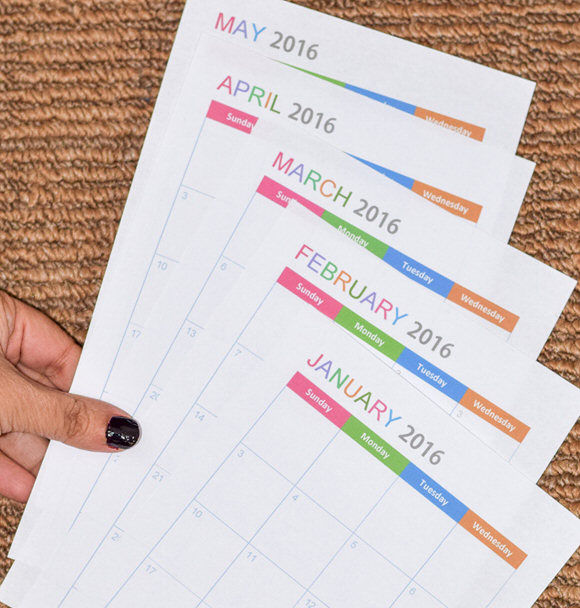
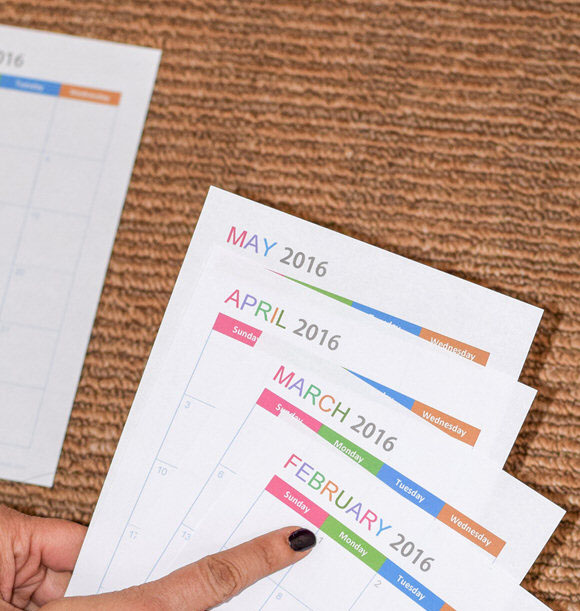
All the pages are printed perfectly from back to back.
Voila!!!
You can follow the same procedure for printing on letter size 8.5×11 inch or any other size paper back to back.
Printing back to back planners can be very confusing, but if you follow these simple steps on any paper size, you will be able to print correctly the first time.
I know how many papers I have wasted while trying to get it right, I don’t want you to go through those confusing steps so here are my instructions for you.
I’d appreciate if you could give me the feedback on how clear these steps are to follow. I’d love to keep improving and make it easier for you.




A lifesaver! Thank you!
My Brother printer guidelines are a bit different, but it was such a eureka moment when you brought in half-letter size to feed into the printer. I had to put so many sheets of paper in the recycling, and a bit more while testing and finding my printer’s settings, but this is perfect! Now I can get them hot off the press and punch them all in one go for my planner. Since I design in spreads in InDesign (it helps me visually, and is what I know best from book designing), and then just save PDFs as single sheets, I no longer need to fiddle with booklet printing or 2-on-1 printing, and no more yelling “Why won’t it work!!” I need to manually do duplex for mine, since reverse didn’t work I think, but that’s okay to me! Again thank you so much. I’m so glad I got to this article from all my agonized searches for printing planner inserts and seeing too many pages tell me to just upload it and have someone else print it for me.
Thank you! Very helpful.